Overview
Tavily Remote MCP is now available on Microsoft Azure, providing seamless integration for developers building AI agents and workflows. By being listed on Azure MCP Center and included in Azure AI Foundry’s Tools Catalog, Tavily enables users to easily discover and connect to its powerful capabilities for grounding AI agents with real-time web search and RAG pipelines.- Azure AI Foundry — Tavily is featured in the Tools Catalog of Azure AI Foundry, making it easy for users to add Tavily to their AI agent workflows and leverage its capabilities for real-time information retrieval and grounding.
- Azure MCP Center — Tavily Remote MCP is listed on Azure’s MCP Center (part of Azure API Center), enabling developers to discover and connect to Tavily directly.
Prerequisites
- Microsoft Azure account with active subscription for signing in to Azure AI Foundry
- Tavily API Key for connecting the Tavily Remote MCP to Azure AI Foundry
Setup
Azure AI Foundry
1
Visit Azure AI Foundry
Go to Azure AI Foundry and sign in with your
Microsoft Azure account.
2
Toggle on the New Foundry
On the top bar, toggle on the New Foundry to switch from Microsoft
Foundry (classic) to Microsoft Foundry (New).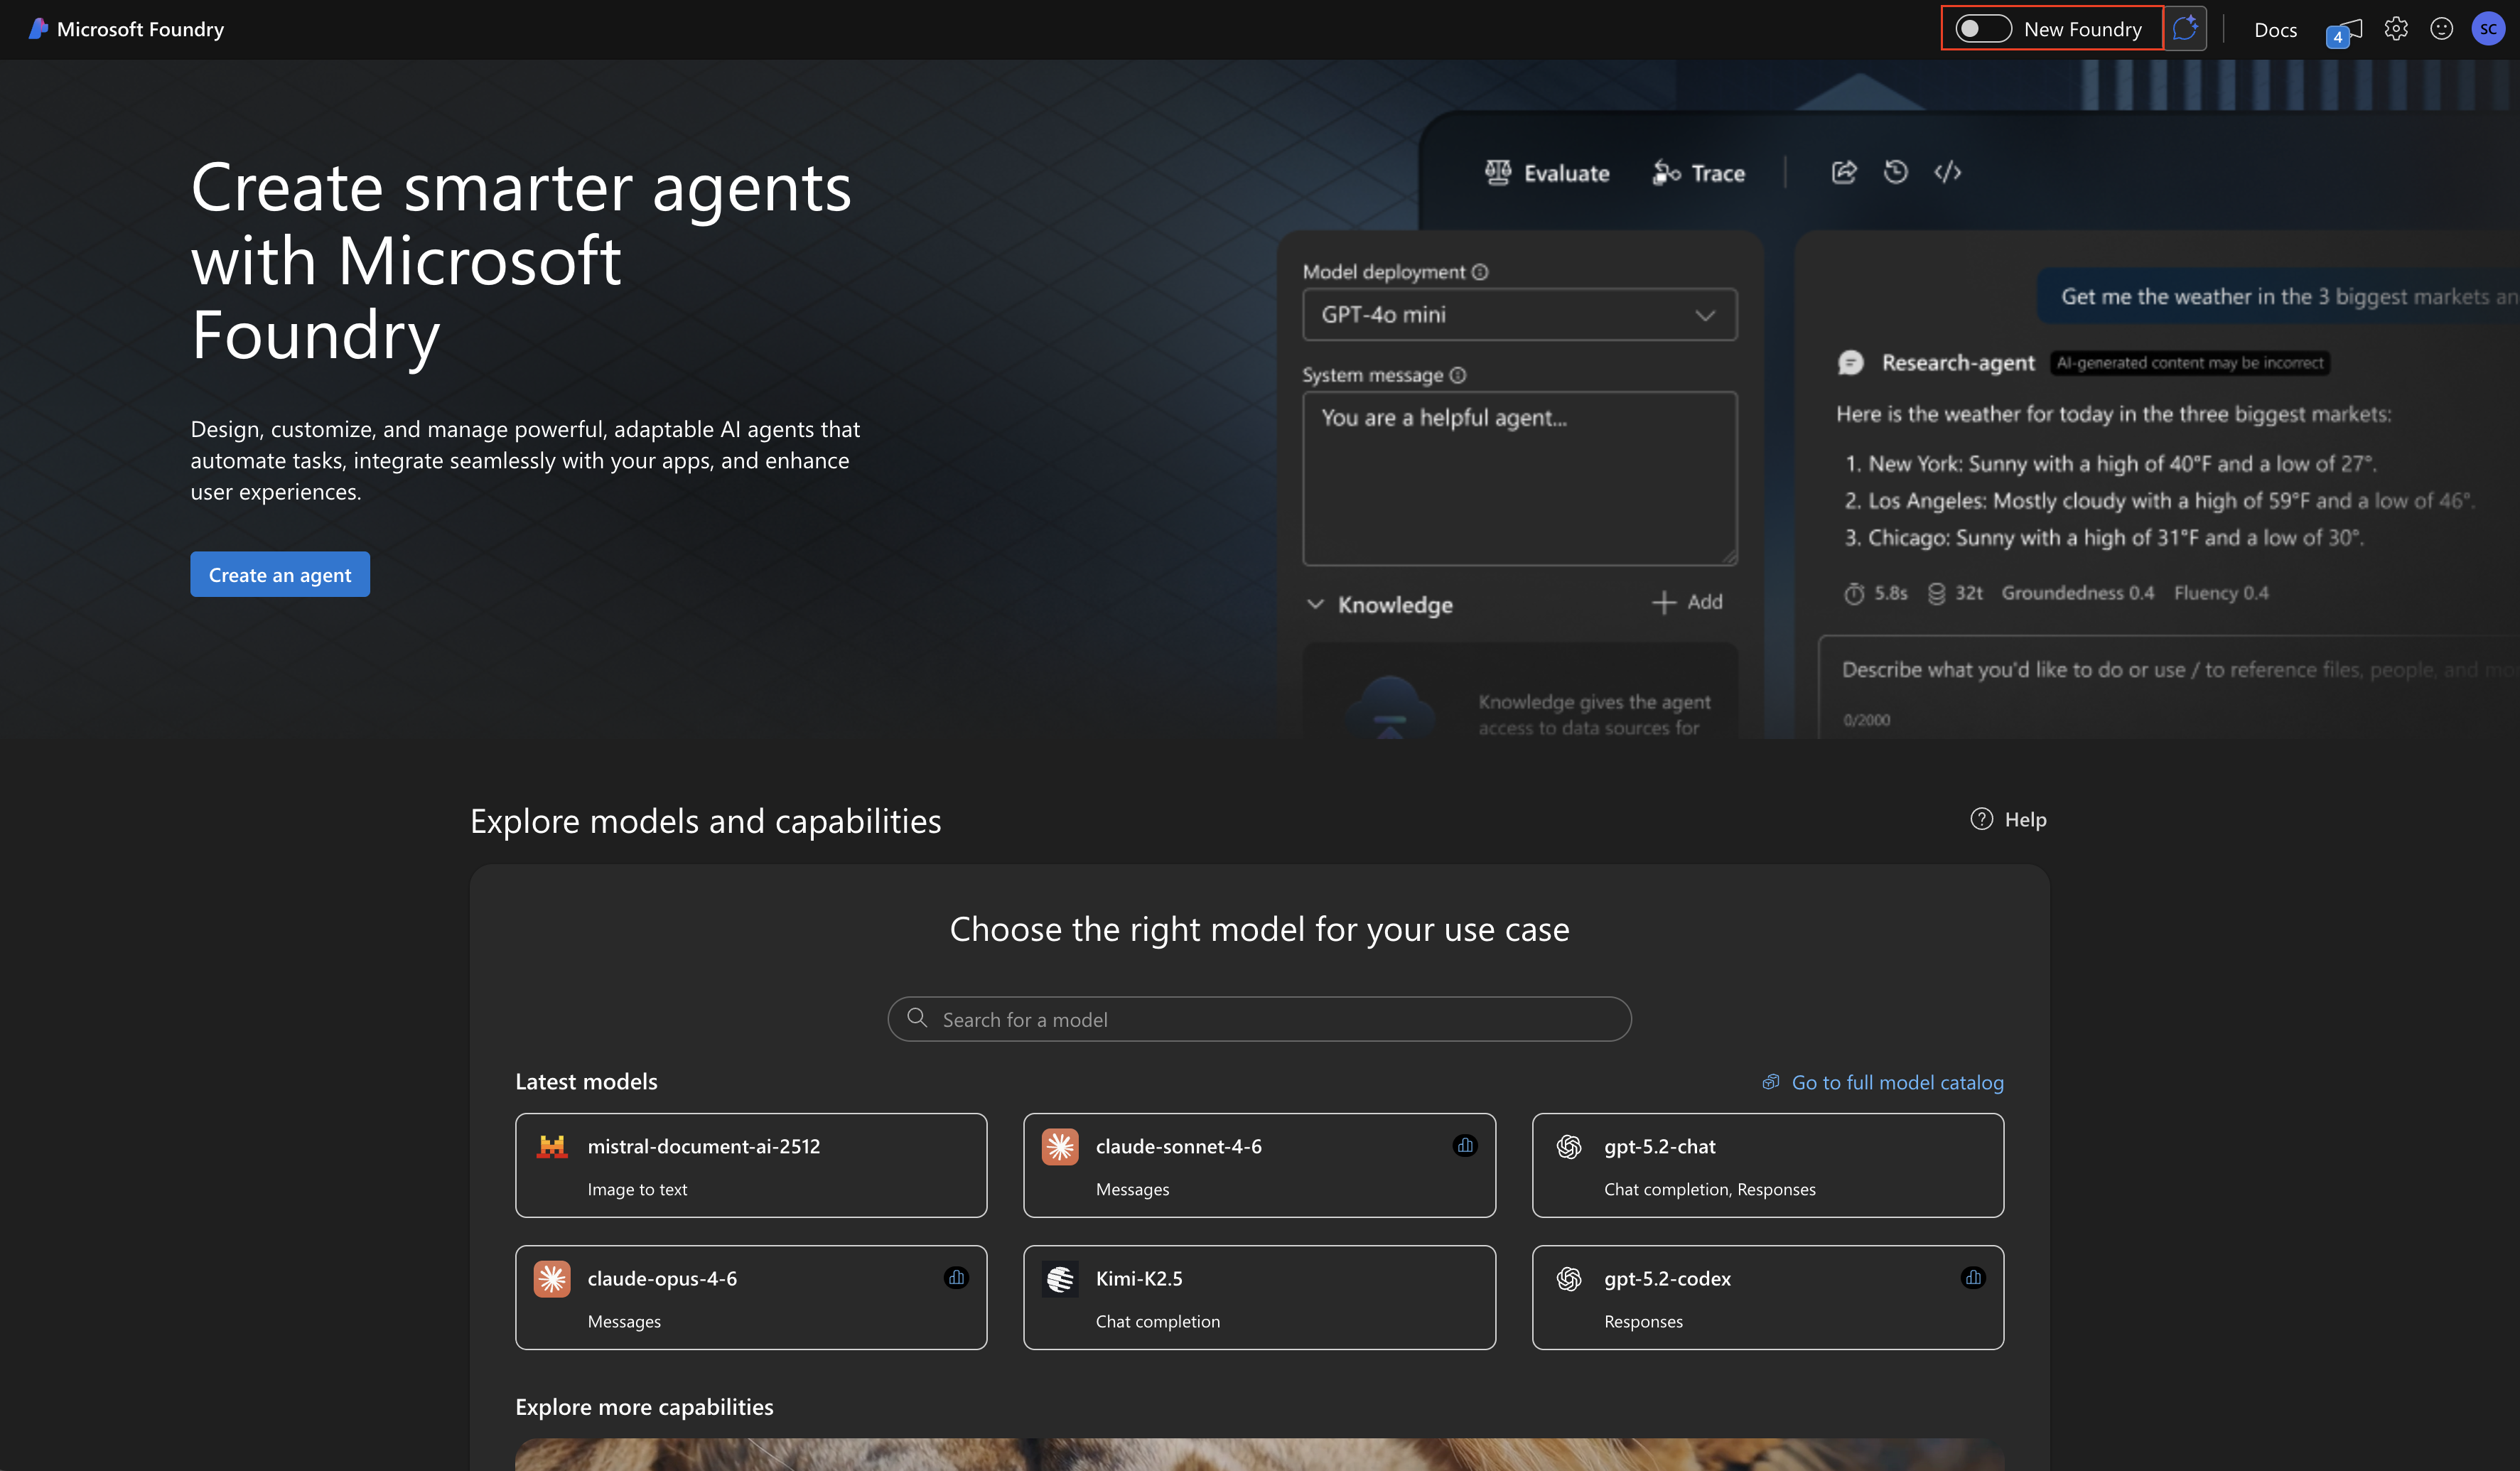
3
Select or create a new project
A pop-up will appear to select an existing project or create a new one.
Select the project you want to work on or create a new project to get
started.
4
Enter Project Details
Fill in the required project details such as Foundry resource, subscription,
region, and resource group to set up your project environment to create a
new project in Microsoft Foundry(new).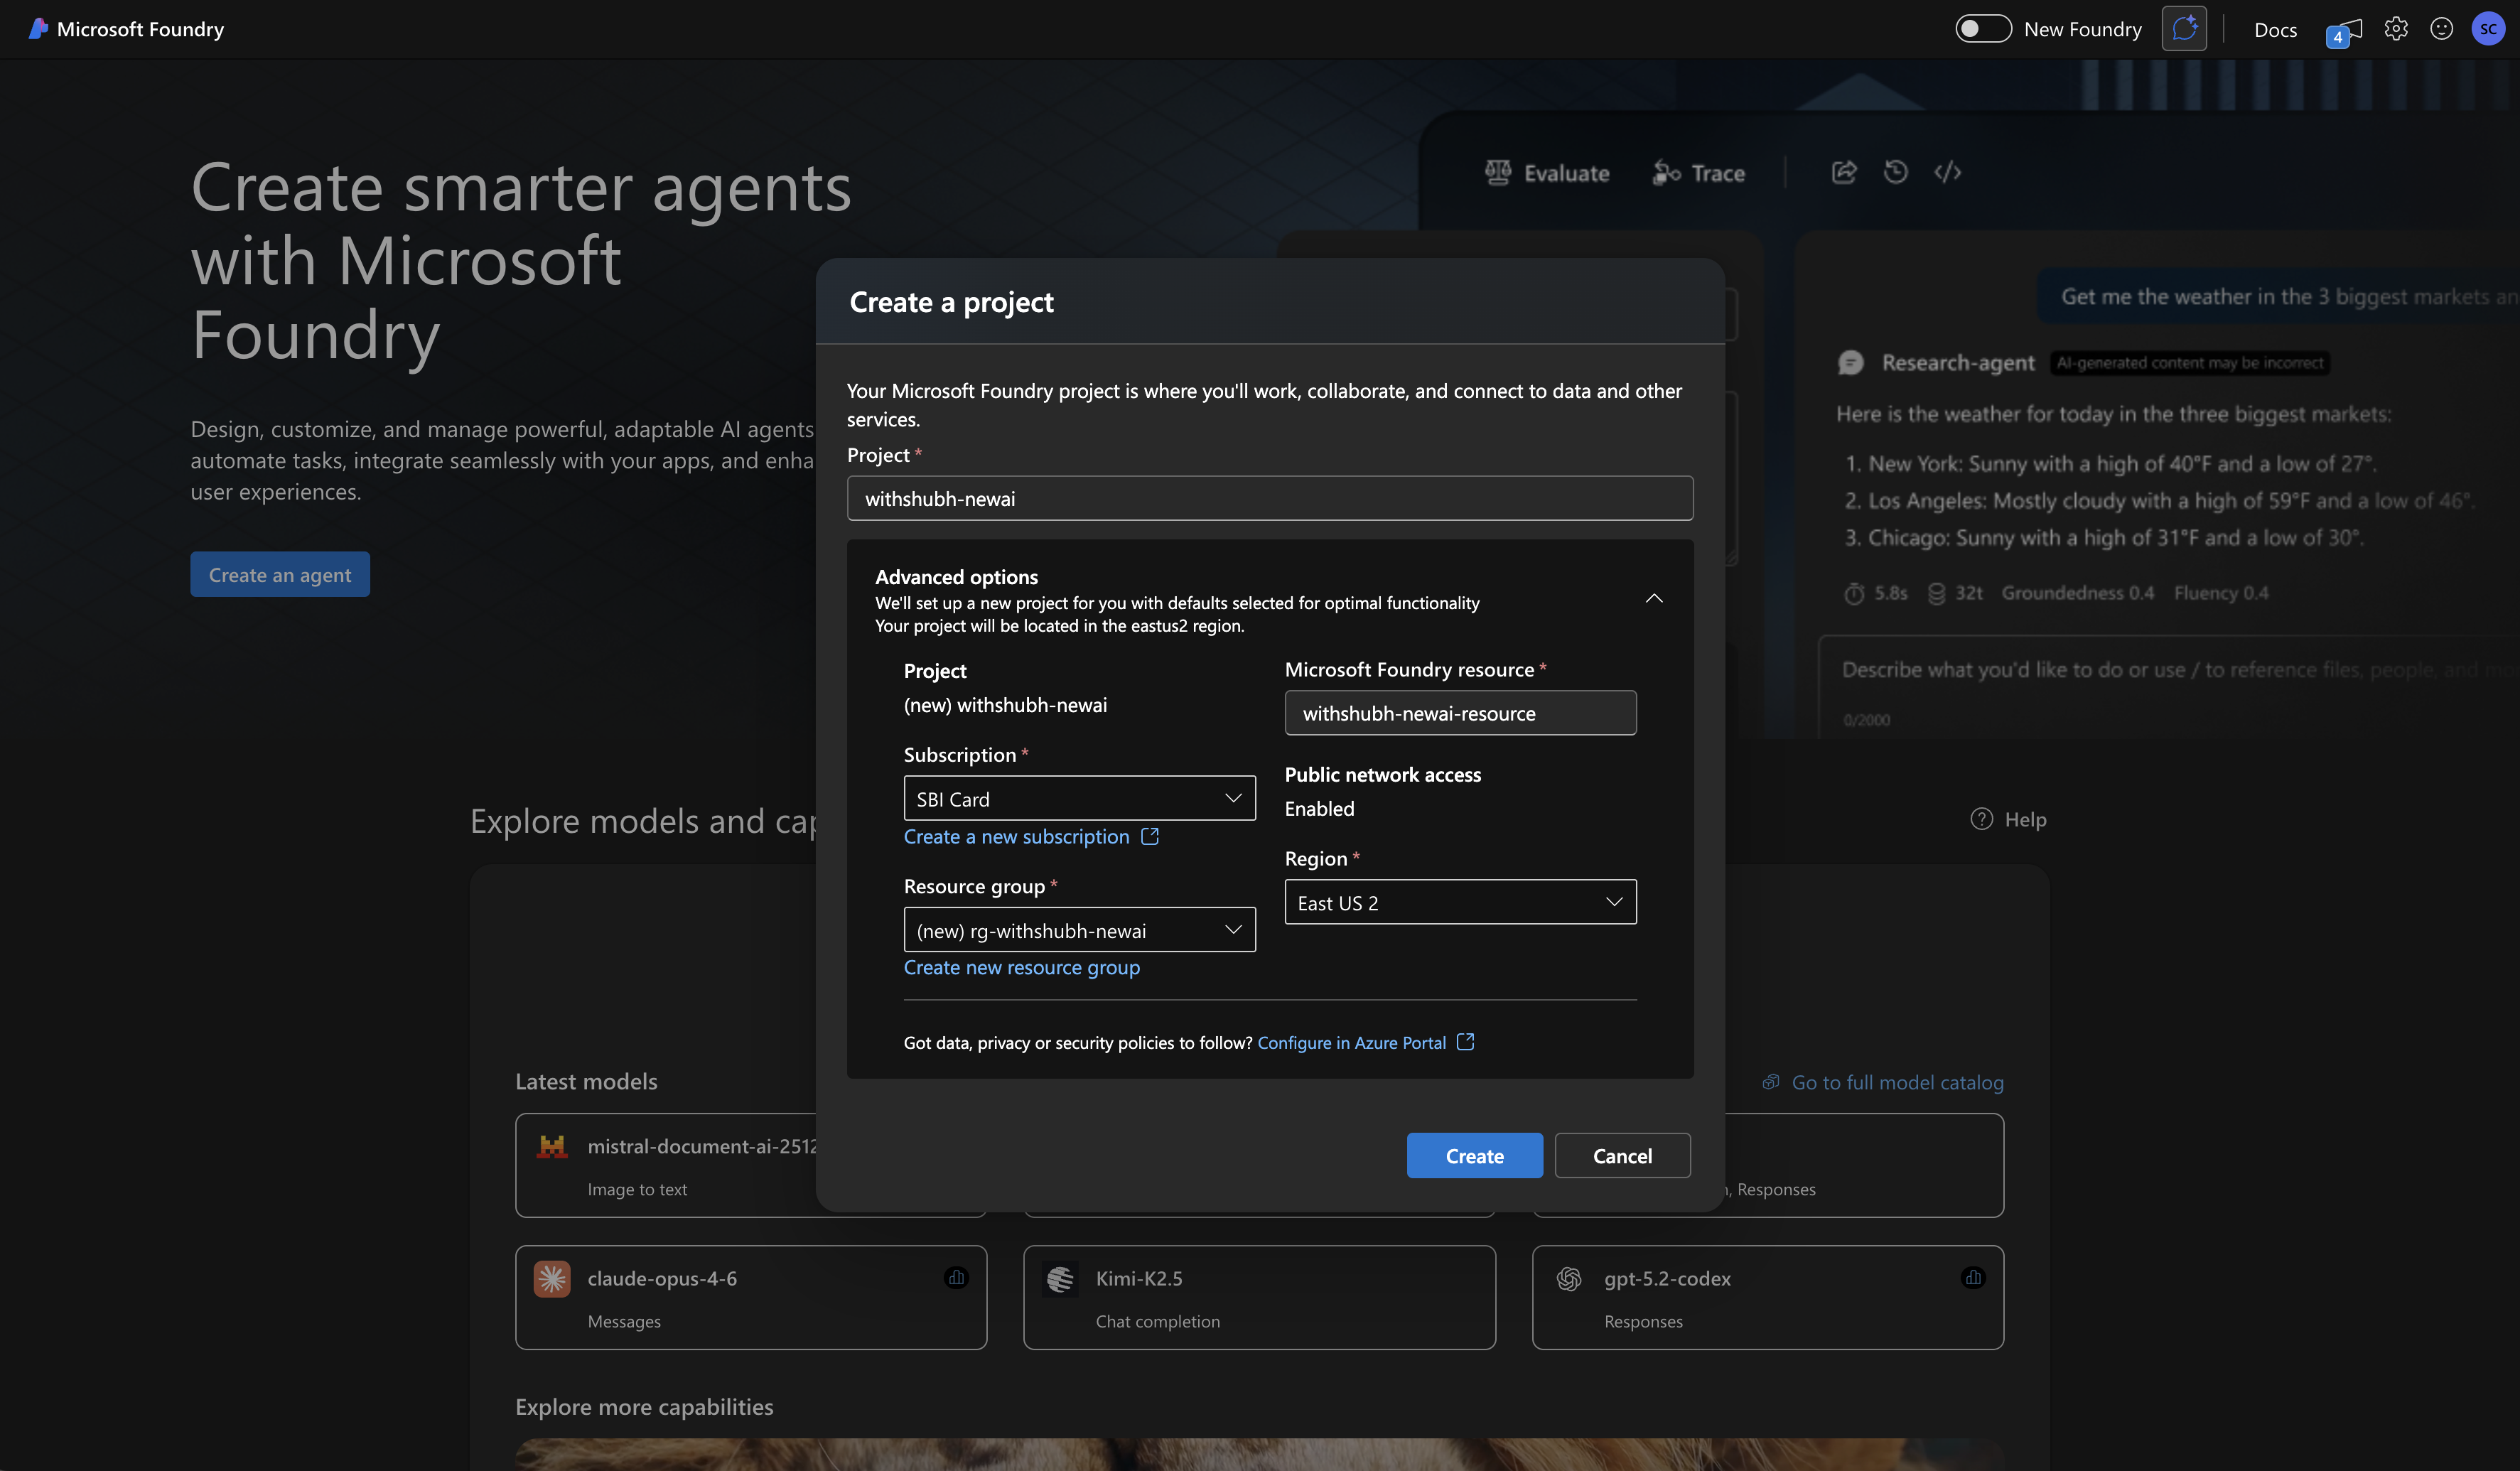
5
Create an agent
Once your project is set up, click on the Start Building button to
create a new agent within your project.
6
Add Tavily MCP to your agent workflow
In the playground interface, navigate to the Tools section and search
for Tavily MCP in the catalog. Enter your Tavily API Key to authenticate
and connect your agent to the Tavily Remote MCP. Once connected, Tavily MCP
will be available as a tool in your agent’s workflow for real-time web
search and RAG capabilities.
7
Start using Tavily MCP in your agent workflow
With Tavily MCP added to your agent’s tools, you can now use it within your
agent’s workflow to enhance its capabilities with real-time information
retrieval and grounding for more effective AI agent performance.
Azure MCP Center
1
Visit Azure MCP Center
Go to the Azure MCP Center and search for Tavily
MCP to find the listing.
2
Install in VS Code
Click the Install button on the Azure MCP Center listing for Tavily MCP
to add it to your VS Code.
3
Authenticate with Tavily Account
VS Code will prompt you to authenticate with your Tavily account to connect
to the Remote MCP. Follow the authentication flow to grant access.
4
Start using Tavily MCP with Copilot
Use Tavily MCP within VS Code’s Copilot to enhance your AI agent development
with real-time web search and RAG capabilities.