Check out our
tutorial
on combining Tavily MCP with Neo4j MCP server!

- Overview
- Features
The Model Context Protocol (MCP) is an open standard that enables AI systems to interact seamlessly with various data sources and tools, facilitating secure, two-way connections.Developed by Anthropic, the Model Context Protocol (MCP) enables AI assistants like Claude to seamlessly integrate with Tavily’s advanced search and data extraction capabilities. This integration provides AI models with real-time access to web information, complete with sophisticated filtering options and domain-specific search features.
Remote MCP Server
The easiest way to take advantage of Tavily MCP is by using the remote URL. This provides a seamless experience without requiring local installation or configuration. Simply use the remote MCP server URL with your Tavily API key:Connect to Cursor
mcp.json file where you have to add your-api-key.
Connect to Claude Desktop
Claude desktop now supports addingintegrations which is currently in beta. An integration in this case is the Tavily Remote MCP, below I will explain how to add the MCP as an integration in Claude desktop.
Open claude desktop, click the button with the two sliders and then navigate to add integrations. Name the integration and insert the Tavily remote MCP url with your API key. You can get a Tavily API key here. Click Add to confirm.
OpenAI
Allow models to use remote MCP servers to perform tasks.- You first need to export your OPENAI_API_KEY
- You must also add your Tavily API-key to
<your-api-key>, you can get a Tavily API key here
Clients that don’t support remote MCPs
mcp-remote is a lightweight bridge that lets MCP clients that can only talk to local (stdio) servers securely connect to remote MCP servers over HTTP + SSE with OAuth-based auth, so you can host and update your server in the cloud while existing clients keep working. It serves as an experimental stop-gap until popular MCP clients natively support remote, authorized servers.OAuth Authentication
The Tavily Remote MCP server supports secure OAuth authentication, allowing you to connect and authorize seamlessly with compatible clients.Using MCP Inspector
Using MCP Inspector
Open the MCP Inspector and click “Open Auth Settings”. Select the OAuth flow and complete these steps:
- Metadata discovery
- Client registration
- Preparing authorization
- Request authorization and obtain the authorization code
- Token request
- Authentication complete
Using Other MCP Clients
Using Other MCP Clients
You can configure your MCP client to use OAuth without including your Tavily API key in the URL. For example, in Cursor’s If you need to clear stored OAuth credentials and reauthenticate, run:
mcp.json:API Key Selection for OAuthWhen using OAuth authentication, you can control which API key is used by naming a key
mcp_auth_default in your Tavily dashboard:- Personal account: If you have a key named
mcp_auth_defaultin your personal account, it will be used for all OAuth-authenticated requests. - Team account: If your team has a key named
mcp_auth_default, it will be used for all OAuth-authenticated requests. - Both set: If both your personal account and your team have a key named
mcp_auth_default, the personal key takes priority. - Neither set: If no
mcp_auth_defaultkey exists, thedefaultkey in your personal account will be used. If nodefaultkey is set, the first available key will be used.
?tavilyApiKey=...) or by setting it in the Authorization header.Local Installation
Prerequisites
Required Tools
Required Tools
- Tavily API key
- If you don’t have a Tavily API key, you can sign up for a free account here
- Claude Desktop or Cursor
- Node.js (v20 or higher)
- You can verify your Node.js installation by running:
- You can verify your Node.js installation by running:
Git Installation (Optional)
Git Installation (Optional)
Only needed if using Git installation method:
- On macOS:
brew install git - On Linux:
- Debian/Ubuntu:
sudo apt install git - RedHat/CentOS:
sudo yum install git
- Debian/Ubuntu:
- On Windows: Download Git for Windows
Although you can launch a server on its own, it’s not particularly helpful in
isolation. Instead, you should integrate it into an MCP client.
Configuring MCP Clients
- Cursor
- Claude Desktop
Note: Requires Cursor version 0.45.6 or higherTo set up the Tavily MCP server in Cursor:
- Open Cursor Settings
- Navigate to Features > MCP Servers
- Click on the ”+ Add New MCP Server” button
- Fill out the following information:
- Name: Enter a nickname for the server (e.g., “tavily-mcp”)
- Type: Select “command” as the type
- Command: Enter the command to run the server:

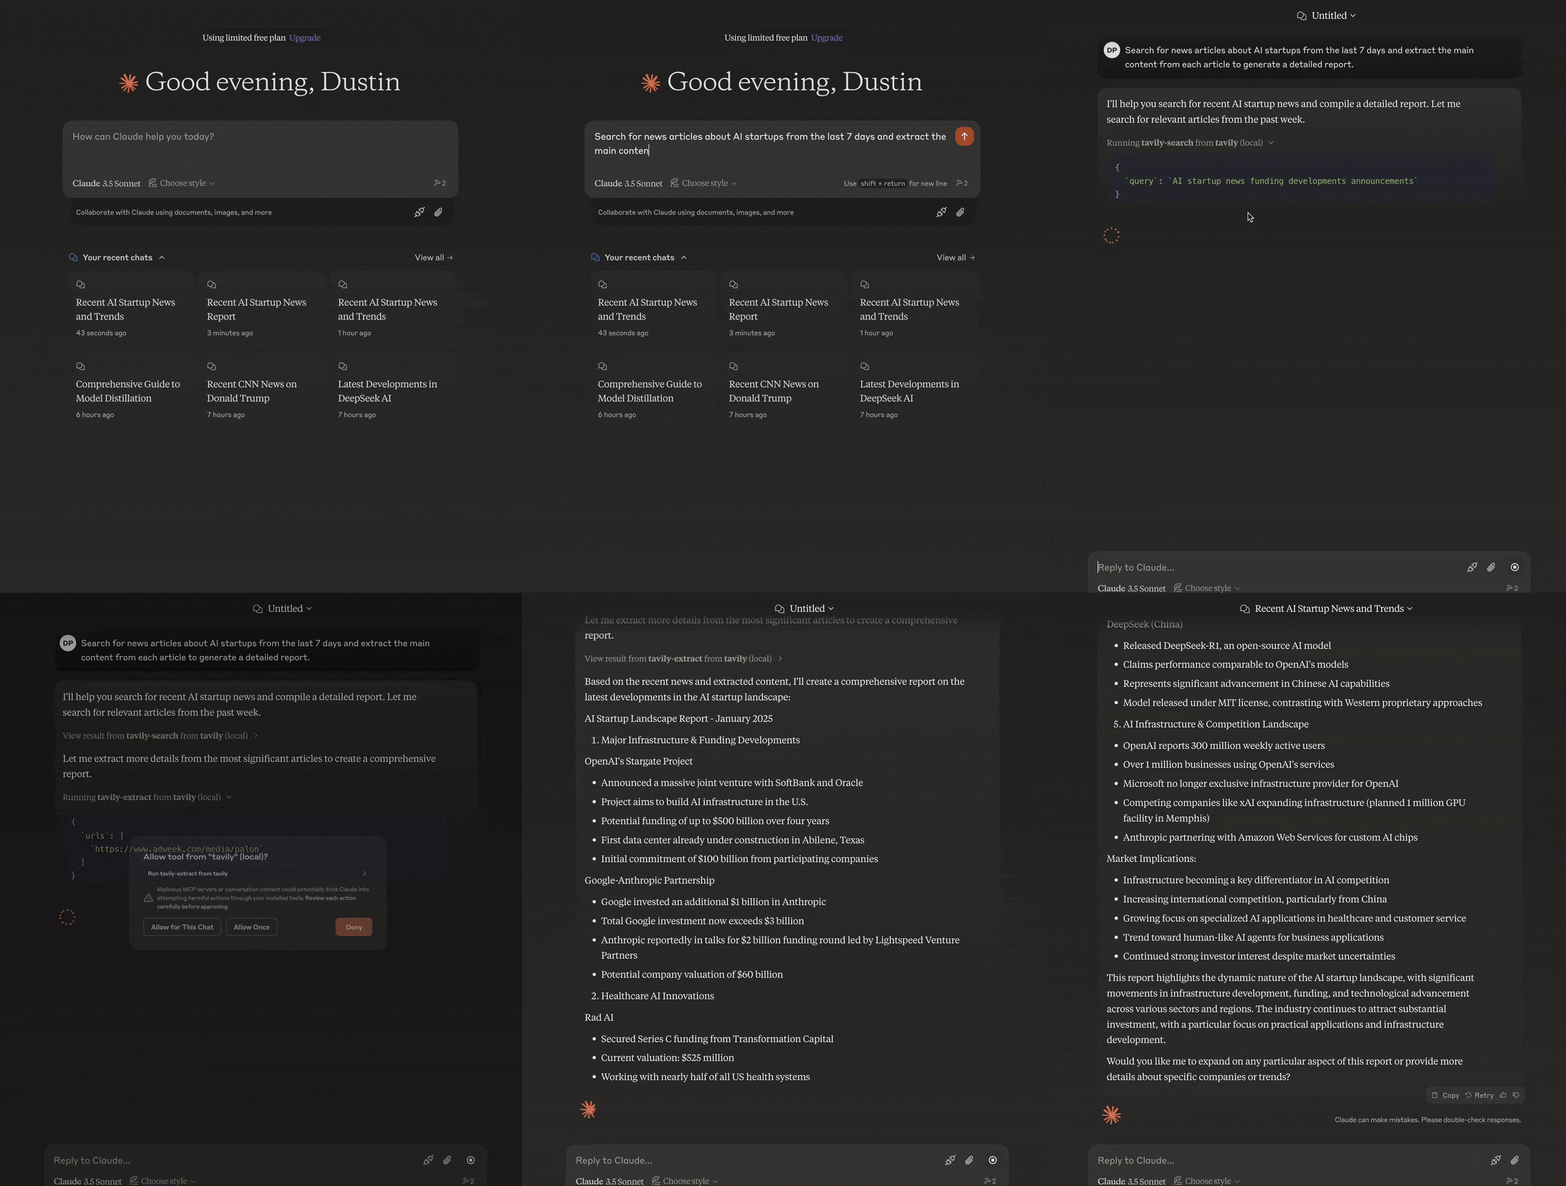
Usage Examples
Tavily Search Examples
Tavily Search Examples
- General Web Search:
- News Search:
- Domain-Specific Search:
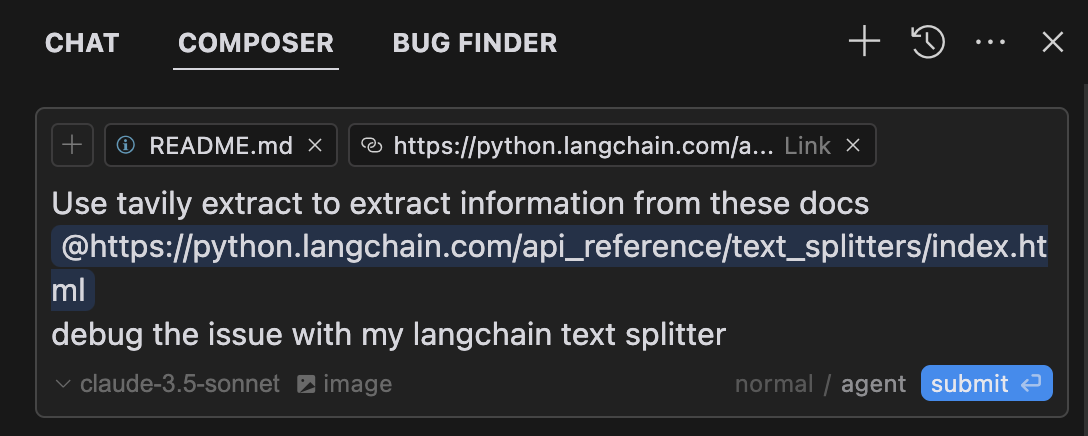
Tavily Extract Examples
Tavily Extract Examples
Extract Article Content:
Extract the main content from this article: https://example.com/articleCombined Usage
Combined Usage
Troubleshooting
Server Not Found
Server Not Found
If you encounter server connection issues, run these commands to verify your environment:Make sure to also check your configuration syntax for any errors.
NPX Issues
NPX Issues
If experiencing problems with npx, locate your executable:
API Key Issues
API Key Issues
When troubleshooting API key problems, verify that your key is:
- Properly formatted with the
tvly-prefix - Valid and active in your Tavily dashboard
- Correctly configured in your environment variables

